Version 0.9
How to Use
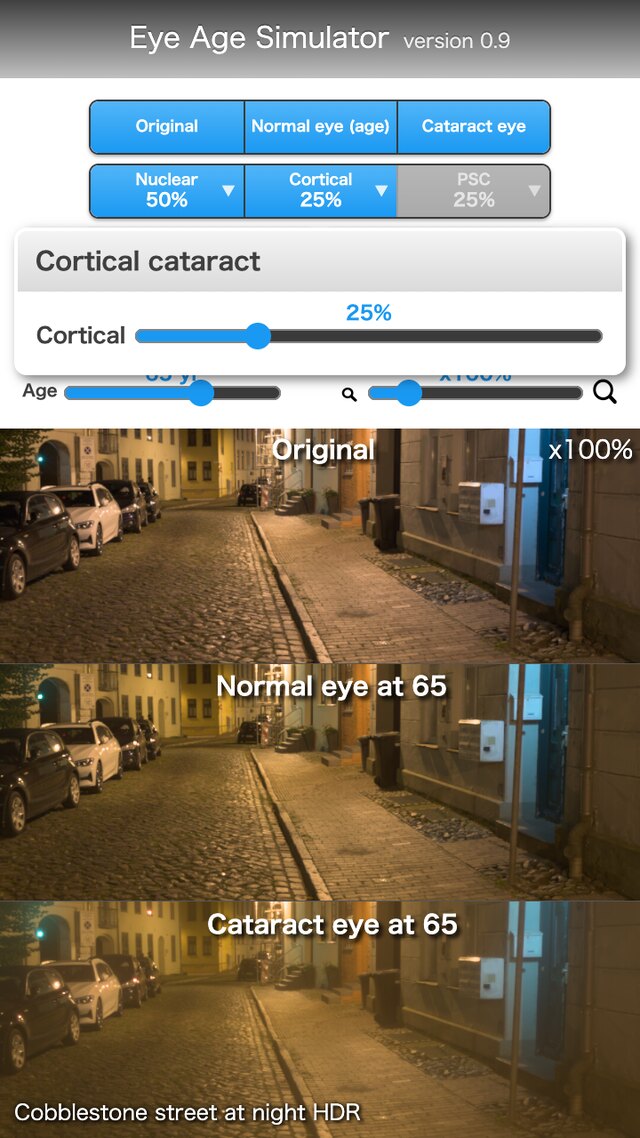
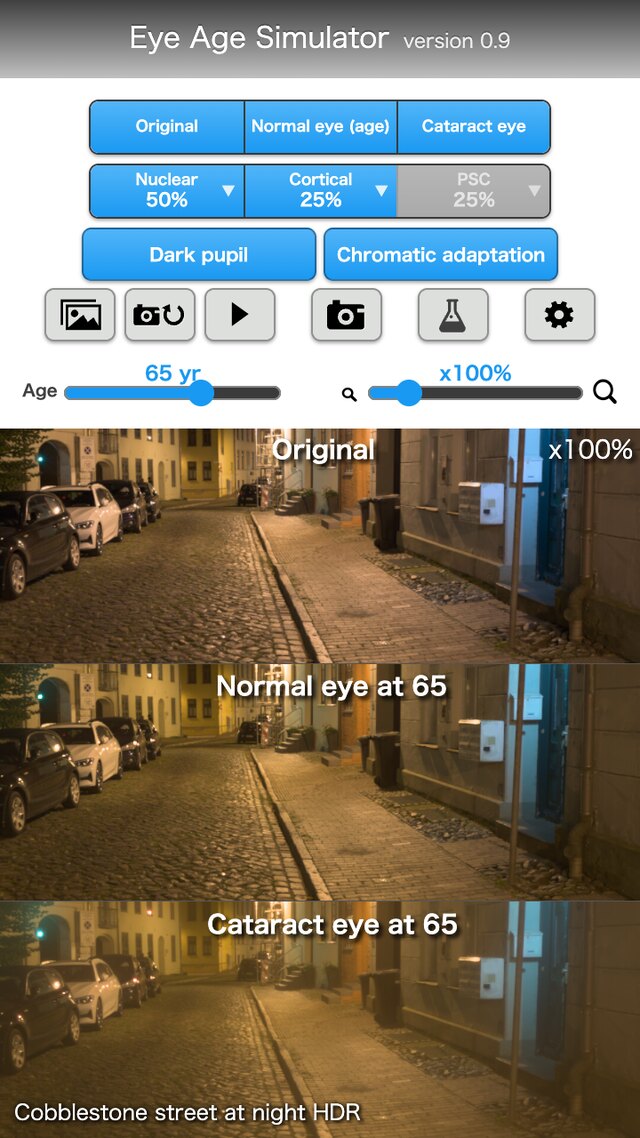
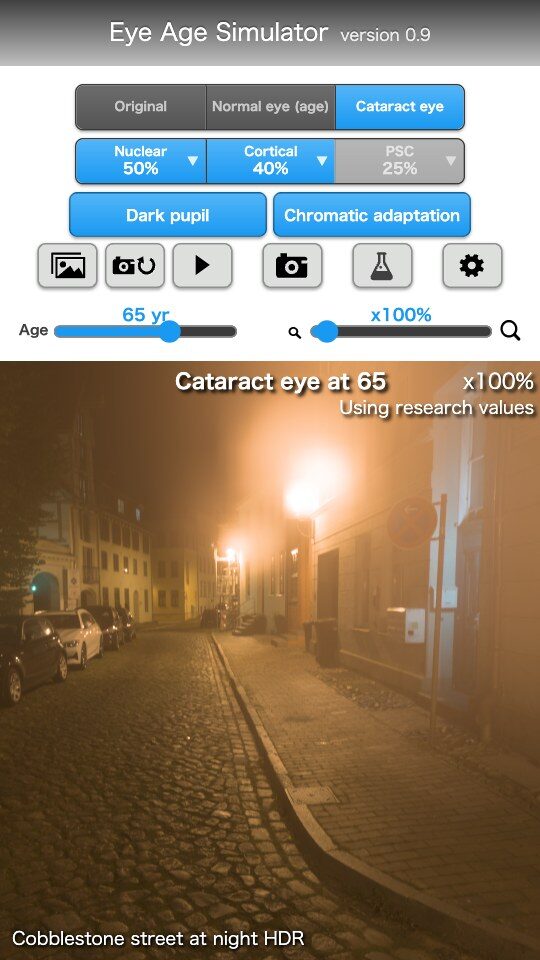
Eye Age Simulator lets you experience how aging and cataract change the way the eye sees.It applies a calculation of the eye's optics (yellowing of the lens, blur, and glare and haze from opacities) to an image (a sample, the camera, or your own image) and shows it next to the original image and a normal eye.
It cannot be used for diagnosis or treatment. The numbers are literature-based estimates, and how things look differs between people.
Basic Usage
 open image
-
1.
Choose the views.
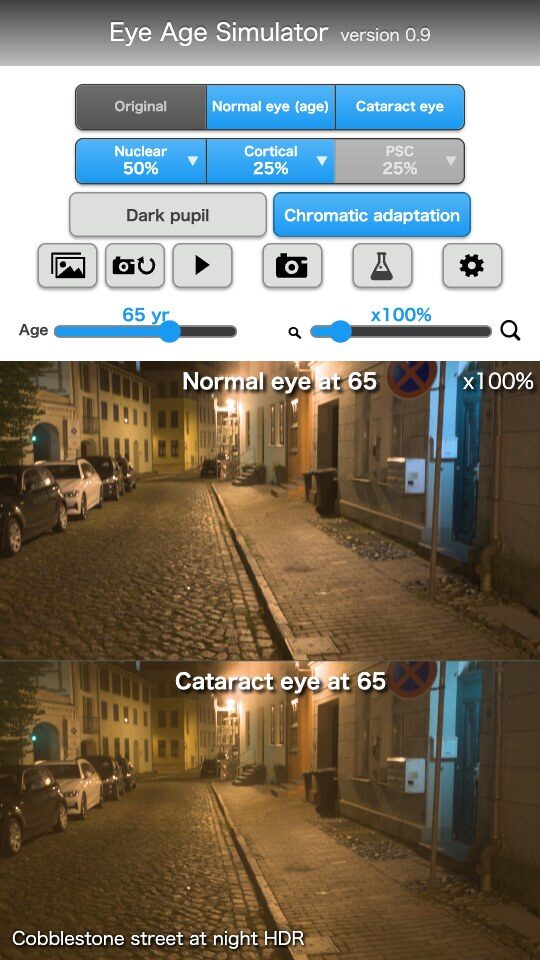
From Original, Normal eye (age) and Cataract eye in the bottom bar, choose what to see (more than one is allowed; each chosen view becomes a panel). -
2.
 Set the age.
Move the age slider (20 to 90, in steps of 5). -
3.
Set the cataract type and progress.
Press a type button (Nuclear, Cortical, PSC) to turn it on or off. Press the "▼" of the button to open a popup with the progress slider (0 to 100%). -
4.
 Choose the image.
Press the album button and choose Samples, Camera or My image.
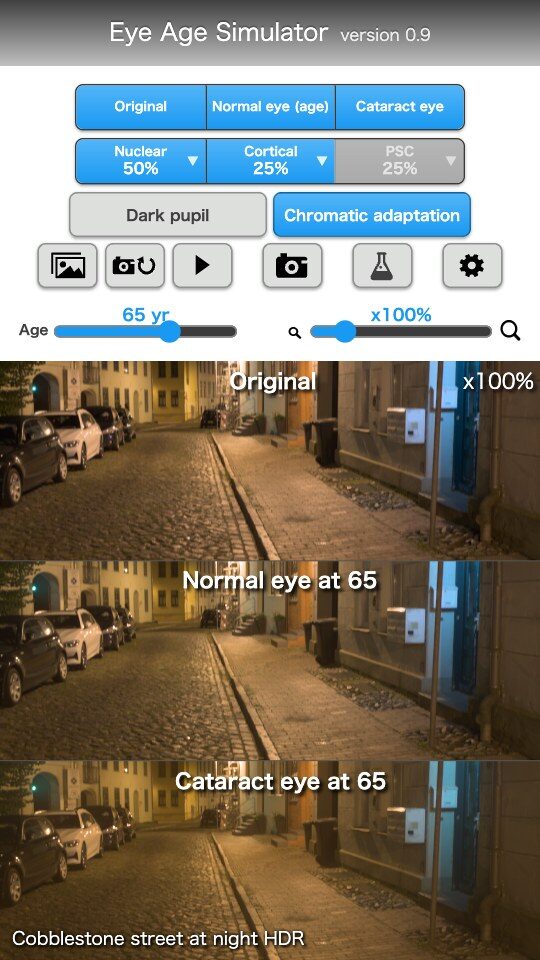
Three Views (Original, Normal eye, Cataract eye)
- Original: the image without any processing.
- Normal eye (age): how a normal eye of the age set with the slider sees it. Only the difference from a young eye (more lens yellowing and light scatter) is applied.
- Cataract eye: how an eye of the set age with the chosen cataract types sees it.
- By default, all three are on (three panels). The three buttons are independent. Each chosen view becomes a panel, arranged to fit the screen. The last remaining one cannot be turned off.
- The name of each panel is shown at its top edge.
 open image
Age
- The age slider sets 20 to 90 in steps of 5. Normal eye and Cataract eye use the same age. Original is not affected.
- The older the age, the more lens yellowing and light scatter (glare and haze). The pupil is set automatically from the brightness of the image and the age.
- The change in your own eyes, which look at the screen, is also added. When a young person looks, it comes closer to how that age sees it.
Cataract Type and Progress
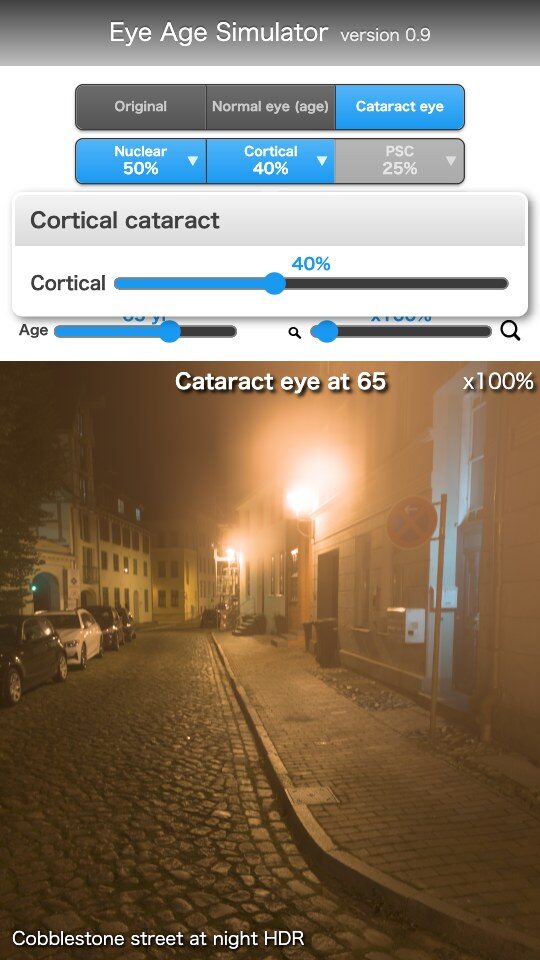
- Three buttons: Nuclear (opacity in the lens center; yellowing), Cortical (spoke-like opacities from the periphery) and PSC (posterior subcapsular: opacity at the back center; worse in bright light). They are shown only while the Cataract eye is displayed.
- Pressing the body of a button turns that type on or off. The button always shows its progress in %. A type that is off is dimmed gray, but its % is kept (turn it on again and it is applied at that %).
- Pressing the "▼" at the right of a button opens a popup with the progress slider (0 to 100%) of that type. The slider has the same length for the three types.
- Moving two fingers up or down (on a trackpad, two-finger scrolling up or down) also changes the progress (up = progress). It changes the type you last adjusted with "▼".
- More than one type can be on at the same time. The initial values are Nuclear 50% (on), Cortical 25% (on), PSC 25% (off).
- The popup closes when you press outside it. It also closes when the width of the window changes (including a change of screen orientation). It does not close when only the height changes, such as when the keyboard or the address bar appears or disappears.
 open image
Dark Pupil and Chromatic Adaptation
 Dark pupil: in the dark the pupil opens, and glare and haze from the opacity get stronger. Turning it on fixes the pupil at 7 mm (off: automatic from the brightness of the image). It is on by default.
 Chromatic adaptation: with long-standing cataract, the brain adapts to the yellowing and notices it less. On is after adapting (the default); off is before adapting.
Image Source (Samples, Camera, My Image)
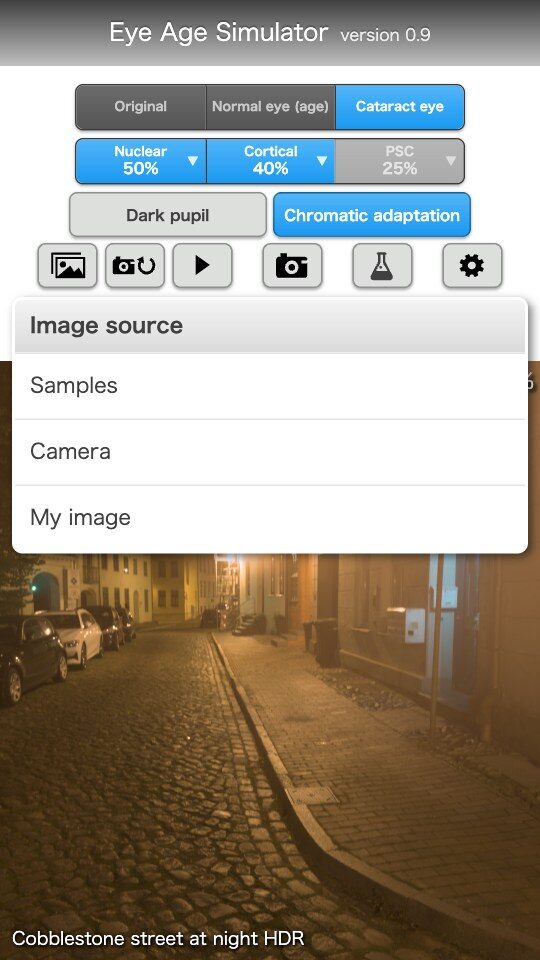
- Pressing the album button shows the choices Samples, Camera and My image.
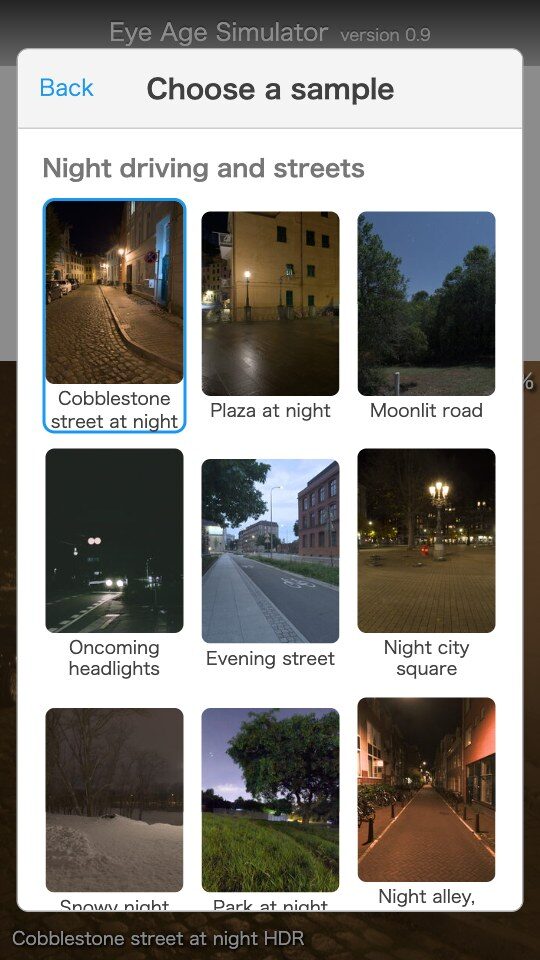
- Samples: choose from a list grouped by scene (night driving and streets, daytime outdoors, at home, stations and shops, reading). Samples change automatically about every 8 seconds, and stop when you touch the screen; the play/stop button (
 ) resumes. Swipe left or right to move to the previous or next sample (while zoomed in, it moves the image). The scene name is shown at the bottom left.
- Camera: applies the calculation to the live camera video. The camera switch button changes to the next camera.
- My image: choose an image file.
- The popup closes when you press outside it or when the width of the window changes (including a change of screen orientation).
- The camera and your own images have no brightness information; the pupil is set automatically from the brightness of the image, and you can change the values in the research panel. The next time the app opens, it starts with the samples.
 open image
 open image
Zoom and Moving the Image
- Zoom with the zoom slider, pinch, or the trackpad pinch (from 100%). While zoomed in, drag to move the image.
- Double-tap (double-click) returns the zoom and position to the start.
Opacities (Posterior Subcapsular and Cortical)
- Posterior subcapsular is an opacity formed at the center of the back of the lens, and cortical is wedges that extend from the periphery. Neither is a part of the field of view; both appear as haze and glare over the whole image. The position and shape can be changed with the research settings.
Saving the Image
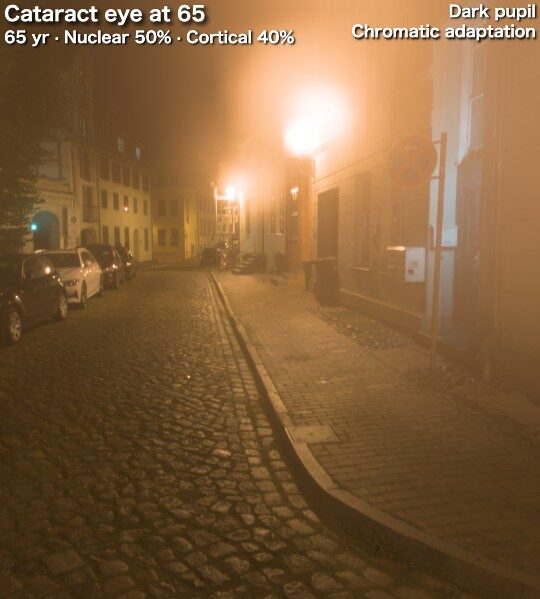
 Pressing the save button saves the panels on the screen as a JPEG.
- When "Embed Text in Saved Images" in Settings is on (the default), the saved image carries the name of each panel at its top left (under the Cataract eye panel, the age and the progress of each type) and the Dark pupil and Chromatic adaptation states at the top right.
 open image
Research
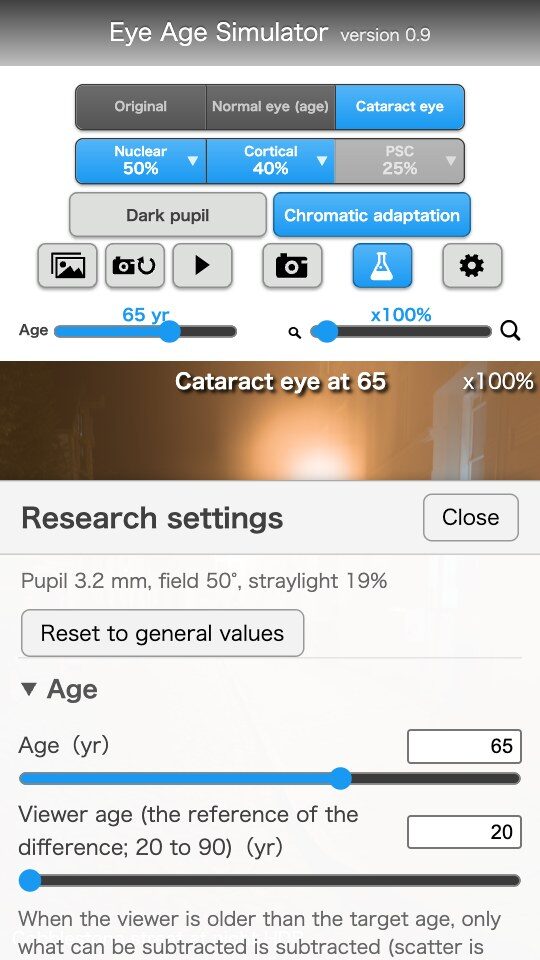
 The flask button opens the research panel. You can enter the physical values directly, by area (age, pupil diameter, lens optical density, myopic shift, cortical spokes, PSC plaque, position and depth of the opacity, scatter multiplier, image brightness, random seed, and so on). The values are linked with the normal controls.
- When the research values differ from the values calculated from the general settings (age, types, progress, dark pupil, chromatic adaptation), "Using research values" is shown at the top right of the screen, under the magnification.
- "Reset to general values" in the research panel returns only the research values to the values calculated from the general settings; the age, types, progress, dark pupil and chromatic adaptation are kept (the random seed and the viewer age also return to their defaults).
- Save as JSON and Load JSON save and load the whole set of values (including the choice of views). The same values and seed give the same result.
- In the Calculation area, "Apply only the difference from a 20-year-old eye" avoids doubling, since the viewer's own eye already applies the 20-year-old part (1 for the normal controls; 0 gives the full eye model).
Settings
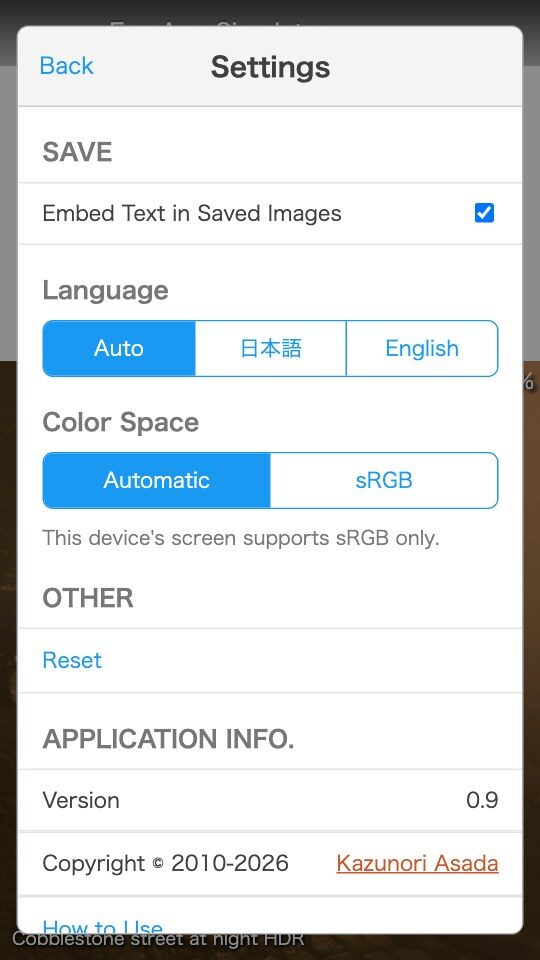
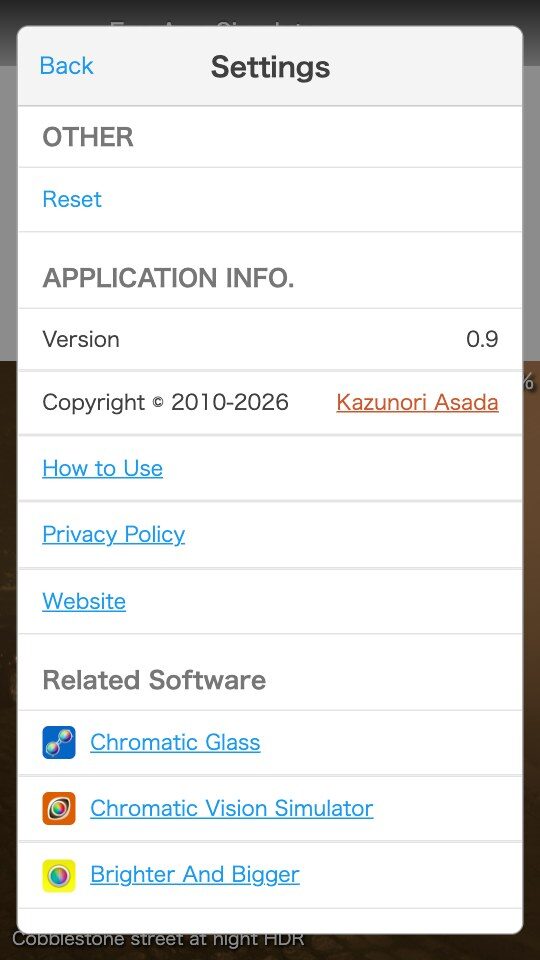
 The gear button opens the settings screen. From the top: Save (Embed Text in Saved Images), Language (Auto, Japanese, English), Color Space (Automatic, sRGB), Other (Reset = restore everything to the initial values), Application Info (version, copyright, How to Use, Privacy Policy, Website), and Related Software (Chromatic Glass, Chromatic Vision Simulator, Brighter And Bigger).
- Color Space: Automatic shows images in Display P3 on screens and browsers that support a wide color gamut. Saved images are sRGB.
- The last state (age, progress of each type, the choice of views, the opacity values and so on) is remembered automatically. Reset restores everything to the initial values.
HDR Photos and Ordinary Photos (How Glare Is Shown)
The glare of a cataract is caused by strong light scattering inside the eye. The amount of scattered light depends on the true strength of the light. An ordinary photo (such as a JPEG) records a white sheet of paper, a headlight and the sun as the same "white". So the true strength of the light cannot be known from the photo. An HDR photo also records how strong the parts brighter than white are (the gain map). This app uses that information to calculate the glare of strong lights.
| What you see | Ordinary photo | HDR photo |
|---|---|---|
| Yellowing of the lens | Can be shown with both | |
| Overall haze and loss of contrast | Can be shown with both | |
| Shadows of cortical and posterior subcapsular opacities | Can be shown with both | |
| Glare and halos around headlights, street lamps, the sun and so on | Shown weakly | Shown according to the strength |
- Of the 50 sample images, 44 are HDR. The 6 pages for reading (book, newspaper, leaflet, phone screen, timetable, menu) are ordinary images.
- Your own photo is shown with glare if it is an HDR JPEG with a gain map (Android Ultra HDR, or the ISO 21496-1 format). An HDR photo from a recent iPhone keeps the ISO 21496-1 gain map when you choose it in Safari (when Safari changes the HEIC into a JPEG), and is shown with glare (checked on a real device). Photos from older iPhones and photos that are not HDR are treated as ordinary photos. In browsers that cannot open HEIC as it is, such as Chrome, convert the photo to JPEG and then open it.
- The field of view of your own photo (it affects the size of the halo) is calculated from the 35 mm equivalent focal length in the EXIF of the photo if there is one, and is 50° otherwise. The line in the research panel shows the field of view used and where it came from.
- When "HDR" appears next to the scene name at the bottom left, the image is an HDR image with a gain map (your own photo shows "My photo HDR" only when its gain map could be read; the 6 reading pages and the camera video do not show it).
- The camera video is treated in the same way as an ordinary photo.
- A screen cannot shine as bright as a real headlight. For strong light that the screen cannot show, the halo that should occur inside the eye is therefore drawn in addition.
- The brightness of the samples is an estimate for each scene. How things actually look differs between people.
Notes
- This app is an experience tool to help you understand how aging and cataract change vision. It cannot be used for diagnosis, treatment or vision testing. If you are concerned about symptoms in your eyes, please see an eye doctor.
- Brightness and colors look different depending on your screen. How things look differs between people, and the numbers are literature-based estimates.
- Images are processed only on this device. Camera video and your own images are not sent anywhere.
Sample Image Sources and Licenses
The sample photos are cropped from HDRIs (CC0) of Poly Haven (polyhaven.com) and ambientCG (ambientcg.com). CC0 is a public-domain dedication and credit is not required, but the sources and the authors are listed below, with thanks to the authors. The reading pages (book, newspaper, leaflet, phone screen, timetable, menu) are self-made, using text from Natsume Soseki's public-domain novel "I Am a Cat". The photo of the oncoming headlights is "Headlights of a car running on a night road" (Yukillow) from Pakutaso (pakutaso.com, https://www.pakutaso.com/en/20200244059post-25672.html). It is used under the Pakutaso terms of use (free for commercial and non-commercial use, modification allowed, no credit required); it is not CC0. Physical values have been added to the headlight pixels.- Greg Zaal: Moonlit woods, Clear hillside, high sun, Station platform at night, Lounge with window light, Wooden lounge, Night city square, Park at night, Lake and hillside glare, Water surface glare, Kitchen, Washroom, Underground passage
- Sergej Majboroda: Tree-lined road in daylight, Cafe, Room with a brick wall, Snowy night, Park, backlit (sun in frame), Cinema screen, Overcast winter field
- Self-made pages: Book page, Newspaper, Medicine leaflet, Smartphone screen, Timetable board, Menu
- Oliksiy Yakovlyev: Hospital room, Hospital ward, Snowy park, bright snow, Snowy forest path
- ambientCG: Tunnel exit, bright light, Wet foggy road, Night alley, cobblestones, Living room with TV
- Dimitrios Savva, Jarod Guest: Street in daylight, Field at dusk, Store shelves
- Savva Zakharov: Room with lockers, Park path in dappled light, Corridor
- Greg Zaal, Rico Cilliers: Plaza at night, Parking garage, dark with bright openings
- Greg Zaal, Jenelle van Heerden: Cobblestone street at night
- Yukillow(ぱくたそ): Oncoming headlights
- Grzegorz Wronkowski: Evening street
- Dario Barresi, Jenelle van Heerden: Bedroom
- Greg Zaal, Dimitrios Savva: Sunset
- Alexander Scholten: Winter lake
- Philip Modin: Railway cutting in dappled light
- Dario Barresi: Staircase
- Adrian Kubasa: Bathroom