Version 2
How to Use
Version 1.0
Basic Use
-
1.
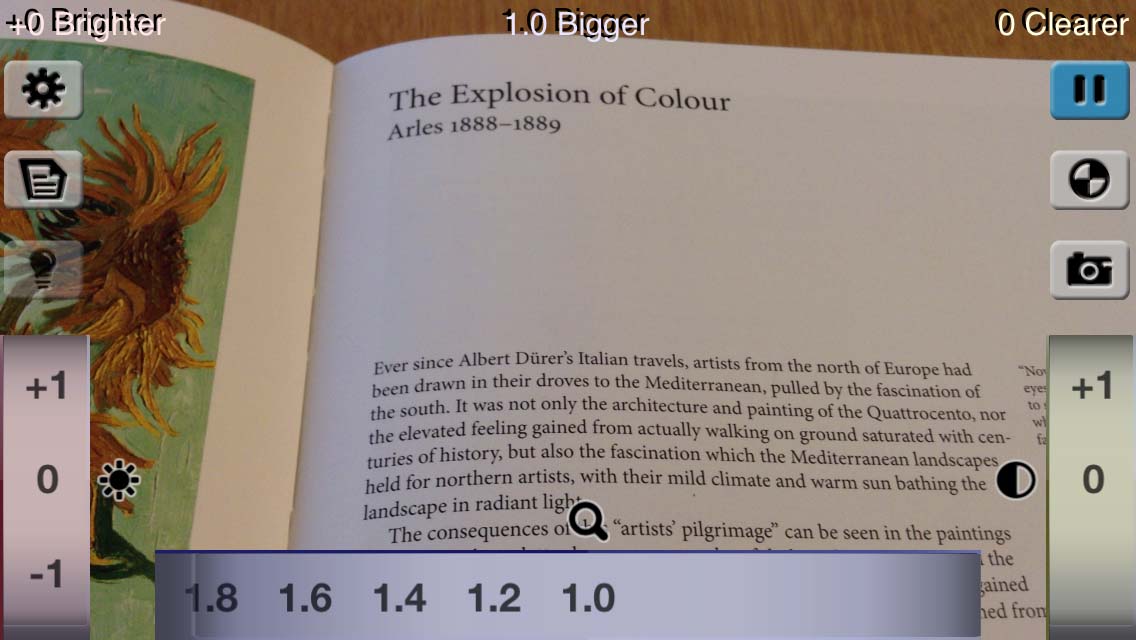
Adjust Exposure and Focus
Tap the screen to adjust exposure and focus. (Some devices do not support it.)
-
2.

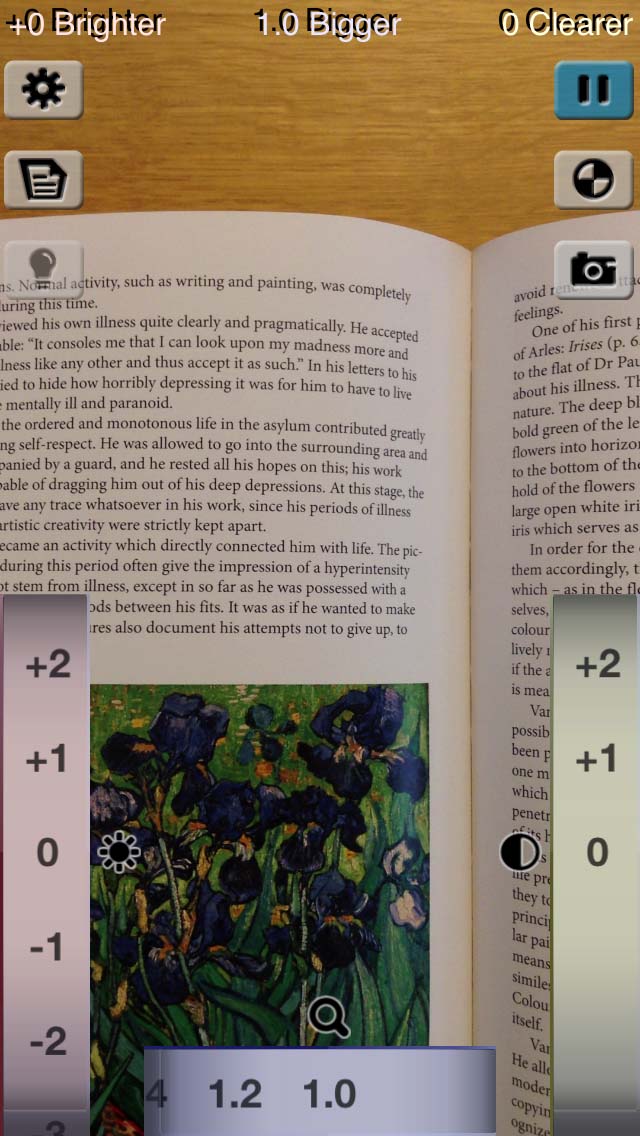
 Adjust Brightness (-5 to +5)
The "Brighter Dial" on the bottom left changes brightness. A smaller value is darker
and a larger value is brighter. Brightness is changed by 5% per value of 1.
-
3.

 Adjust Contrast (0 to +10)
The "Contrast (Clearer) Dial" on the bottom right changes contrast. Increase the
value for more clarity.
-
4.

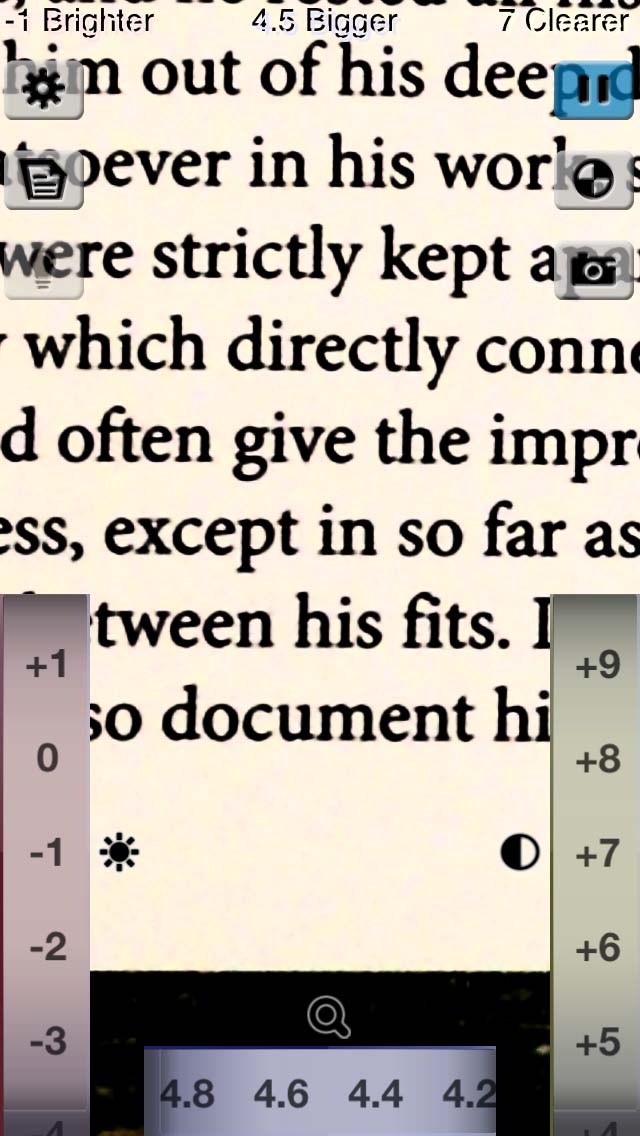
 Adjust Magnification (1.0 to 10.0)
The "Magnification Dial" on the bottom changes the degree of magnification. You can
also change this value by pinching. You can change the maximum magnification to 20.0
times by setting the "Max Magnification x20" to ON in the Settings screen.
-
5.
Repeat steps 2 through 4 until brightness, contrast and magnification are
comfortable.
-
6.
All dials, buttons and text disappear if you do not touch the screen for 10 seconds.
You can tap the screen to display them again.
Advanced Use
 Freeze Button
Push to freeze moving images and display a still image. Push again to release. You
can also make a still image bigger, brighter and clearer through use of the dials. A
still image can be panned by using a panning gesture (tap and move the screen with 1
finger). You can also "Freeze" by pressing the screen long enough (long press).
 Brightness Reverse Button
Push to reverse brightness. A black letter on white background is changed to a white
letter on black background. This mode is especially suitable for people with
cataracts and low vision.
 Image Save Button
Push to store a displayed image to the "Photo Album".
 Switch Camera/File Button (Android only)
Shows the buttons which choose the image source device.
 Switch to Rear Camera Button (Android only)
Switch the image source to the rear camera.
 Switch to Front Camera Button (Android only)
Switch the image source to the front camera. A mirrored image is displayed on the
screen when the front camera is used.
 Switch to Image File Button (Android only)
This button is used when show the image in the "Photo Album", "Gallery".
 Settings Button
Push to access various settings (described below.)
 Tilted Angle Correction Button
When you put a book on a desk and look at it from above, it is distorted like a
trapezoid. This function, "Tilted Angle Correction" (Reverse Projection
Transformation), revises such distortion as if you saw it from directly overhead.
You can change the "Degree of Tilted Angle Correction" parameter by pinching the
bottom of the screen or by using the "Degree of Tilted Angle Correction' slider in
the Settings screen.
 Torch Button
Push to turn the torch light ON/OFF. (If supported.)
 Cont. Auto Focus OFF Button
Disable continuous auto focusing and focus on the tapped area on the screen. It is
convenient when using the device fixed to a stand.
- Reset
Double tapping the screen resets the "Bigger", "Brighter", "Clearer", "Brightness
Reverse" and Pan parameters to their initial conditions. Shaking your device also
release freeze condition in addition to the above.
Settings Screen
You can change various settings in the Settings Screen.
- Monochrome Mode
- Discard Color Information
Discards Chromaticity Information and only uses Lightness information.
Readability for an individual who cannot read easily due to eye illness,
etc. may improve with this setup. (default value: OFF)
- Color(s) Used
Specifies the color(s) used for the "Monochrome" (or "Duochrome") mode. The
specified color or combination of colors (chromaticity information only) is
used.
For example, in the case that one color is specified (Monochrome), such as
"Light Blue", colors which have the same chromaticity as "Light Blue" are
displayed.
In the case that two colors are specified (Duochrome), such as "Yellow and
Blue", a color which has the same chromaticity as Yellow is displayed when
the Lightness value is at its highest, and a color which has same
chromaticity as Blue is displayed when the Lightness value is at its lowest
(dark). A color's chromaticity is determined by the linear interpolation
between light and dark according to its own Lightness.
In addition, "Color(s) Used" can be shifted to the next color(s) by tapping
the screen with 2 fingers when the "Shift by double-tapping w/ 2 fingers" is
ON. (default: Achromatic)
-
Custom Color
Specifies the color used for the "Custom (Monochrome)" mode (only
chromaticity is used). (default value: Yellowish Green (R 66%, G 100%, B
0%))
-
Custom Color (Light)
Specifies the Light Color used for the "Custom (Duochrome)" mode (only
chromaticity is used). (default value: Yellow (R 100%, G 100%, B 0%))
-
Custom Color (Dark)
Specifies the Dark Color used for the "Custom (Duochrome)" mode (only
chromaticity is used). (Choose "White Color" when you would like to use
Achromatic.) (default value: Purple (R 50%, G 0%, B 100%))
-
Shift by double-tapping w/ 2 fingers
Shift the "Color(s) Used" to the next color(s) in the order listed in the
menu by tapping the screen with 2 fingers.
- User Interface Settings
- Big Text and Buttons
Use Big Text and Buttons. (default value: OFF, but ON on iPad)
- Freeze on Long Press
Freeze by pressing the screen with your finger for a long enough time (long
press), in addition to the "Freeze Button." (default value: ON)
- Save on Volume
Save the screen by pushing the "Volume" button in addition to the "Save
Button." (default value: OFF)
- Max Magnification x20
Sets the maximum magnification ratio to 20x. (Normally 10x) (default value:
OFF)
- Cont. Auto Focus OFF (Some devices do not support it.)
Disable continuous auto focusing. This is helpful when using a device with a
stand. (default value: OFF)
- Degree of Tilted Angle Correction
Adjust the degree of correction for the "Tilted Angle Correction". This parameter is
used when the "Tilted Angle Correction" is ON.
The effect is weaker when the slider is moved left, and stronger when the slider is
moved right.
The "Degree of Tilted Angle Correction" can also be adjusted by pinching an area at
the bottom of the screen with 2 fingers, when "Tilted Angle Correction" is ON.
(Possible range: Trapezoid (lower base)/(raised bottom) = 0.2-1.0) (default value:
0.5)
- Reset
Resets all parameters in the Settings screen to their initial conditions.
- How to Use
Shows manual.
- Application Information
Shows Application Information.
Gestures
- 1 Finger Tap
When not "Freezing", the focus and exposure are adjusted at the tapped location.
(Some devices do not support it.)
Re-displays U/I parts (dials, buttons and statuses) when they are hidden. (more than
10 seconds have passed since the last operation.)
- 1 Finger Double Tap
Resets the "Bigger", "Brighter", "Clearer", "Brightness Reverse" and Pan parameters
to their initial conditions.
- 1 Finger Pan
When "Freezing", Pan in the direction you moved your finger.
- 1 Finger Long Press
When not "Freezing", freeze. When "freezing", release.
- 2 Fingers Double Tap
Shift the "Color(s) Used" to the next color(s) in the order listed in the menu when
"Shift by double-tapping w/ 2 fingers" is ON.
- 2 Fingers Pinch
Zoom in or out. It is the same as operating the "Magnification Dial".
- 2 Fingers Pinch on the bottom of screen
Increase or decrease "Degree of Tilted Angle Correction" when "Tilted Angle
Correction" is ON.
- Shake
Resets the "Bigger", "Brighter", "Clearer", "Brightness Reverse" and Pan parameters
to their initial conditions, and release "Freezing".
 open
image
open
image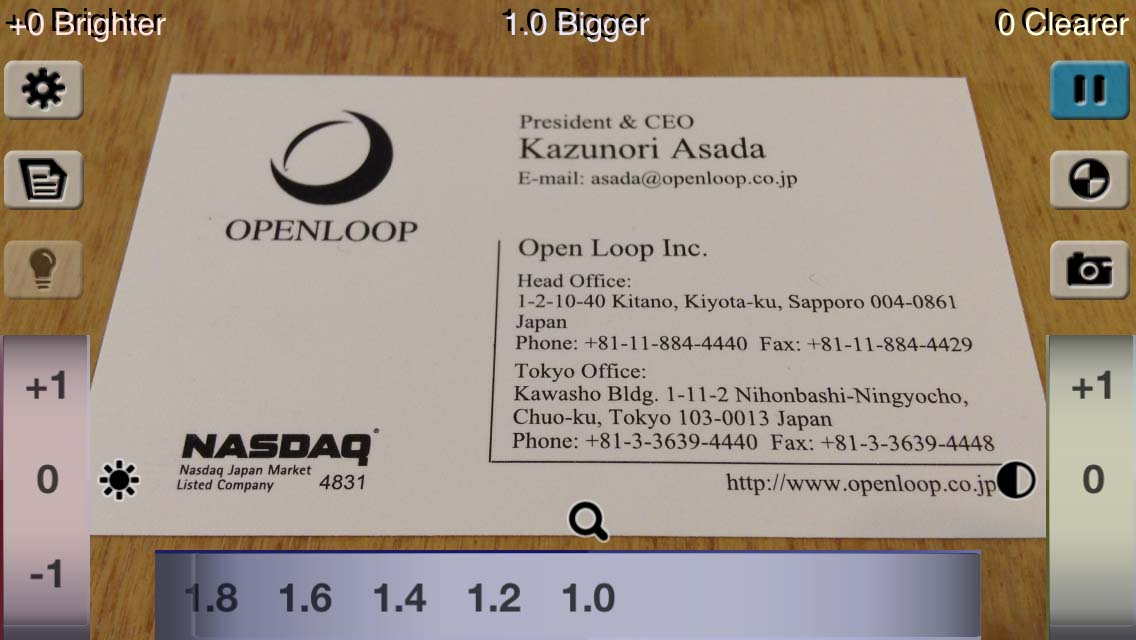 open image
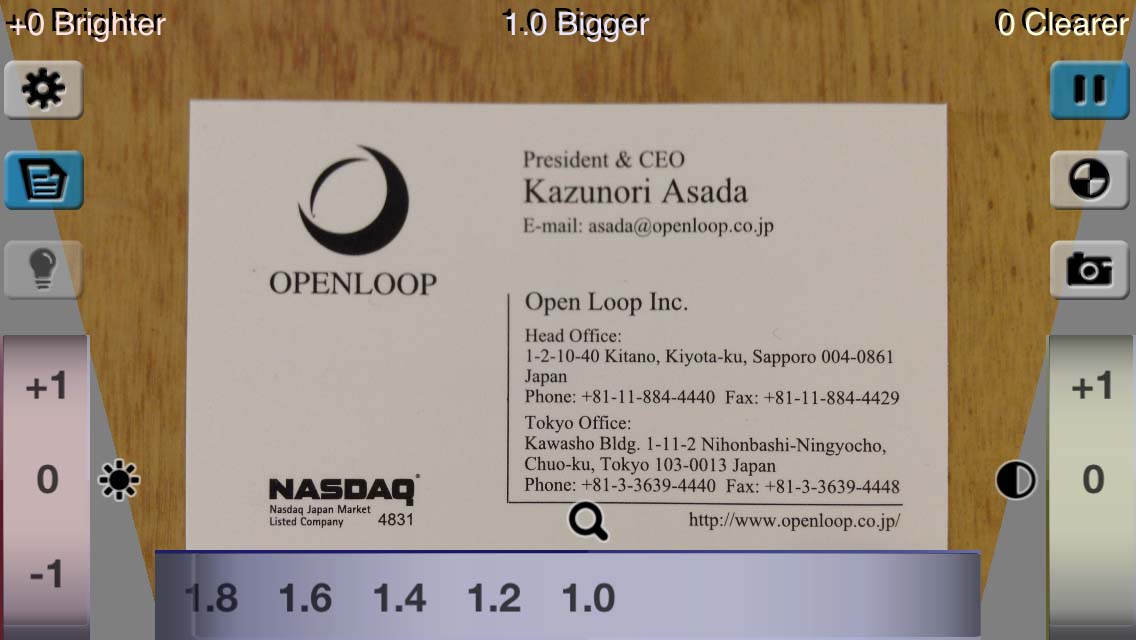 open image
 open image